Minting Well
Create a well in the backend
Open Django Admin and log in
Click “Well” Under the Wells tab
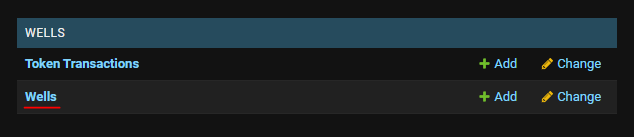
Click “Add Well”
Provide a valid API_ID (We’re now using API_UWI_Unformatted)
Scroll down at the bottom and click Save and Continue Editing.
Once the initial Enverus data has been pre-populated, update all other information about the well. Most smart contract related fields will be auto-populated after minting (There will be a help text that shows a field will be auto-populated)
Required fields for minting are:
is approved for minting
fee percetange
operator address
number of eavs (both buffer pool and advanced)
geoJSON
Optional: Manually updating drone deploy
Updating the drone deploy instance is not necessary for minting (drone deploy images/videos/panoramas will not appear on the map)
Open Django Admin and click “Periodic Tasks” under Periodic Tasks tab
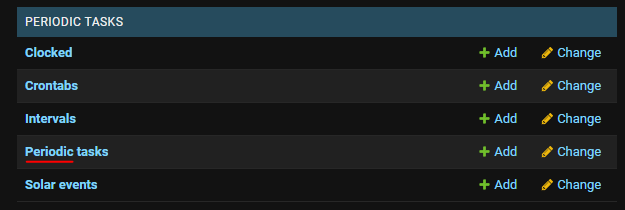
Check Update Drone Deploy and select Run selected tasks on the markdown. Click Go to manually trigger the drone deploy.

NOTE: Drone Deploy Updates are automatically triggered weekly.
Minting a well in the frontend
Login with your minting wallet
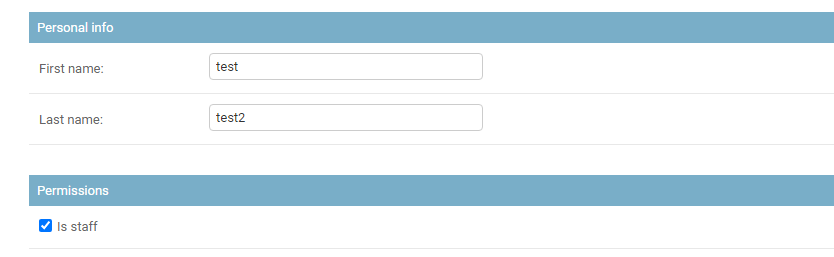
Make sure that the is_staff fields is checked.
If not, access the user instances and check the is_staff field
Unminted wells will be marked accordingly with a yellow icon.
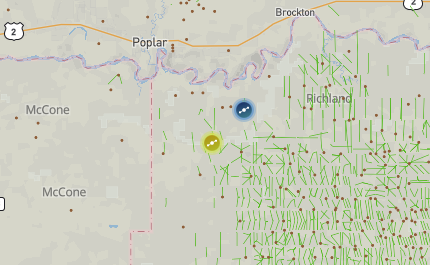
Clicking the Marker will show a well view with Mint Well CTA. Click Mint Well to trigger the minting process.
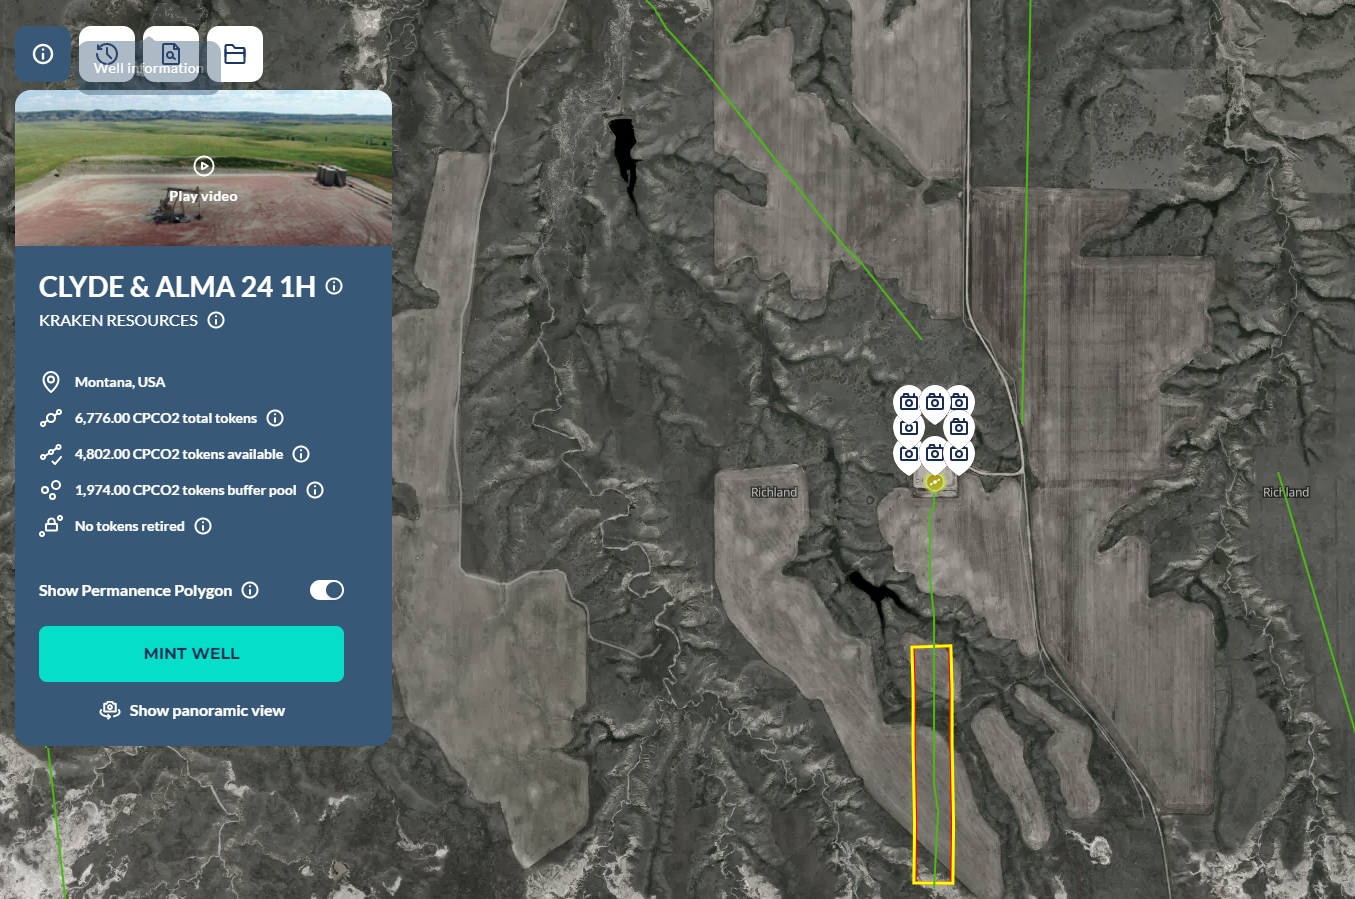
Approve and wait for the transaction, once it’s done, you can check the transaction hash on the backend.
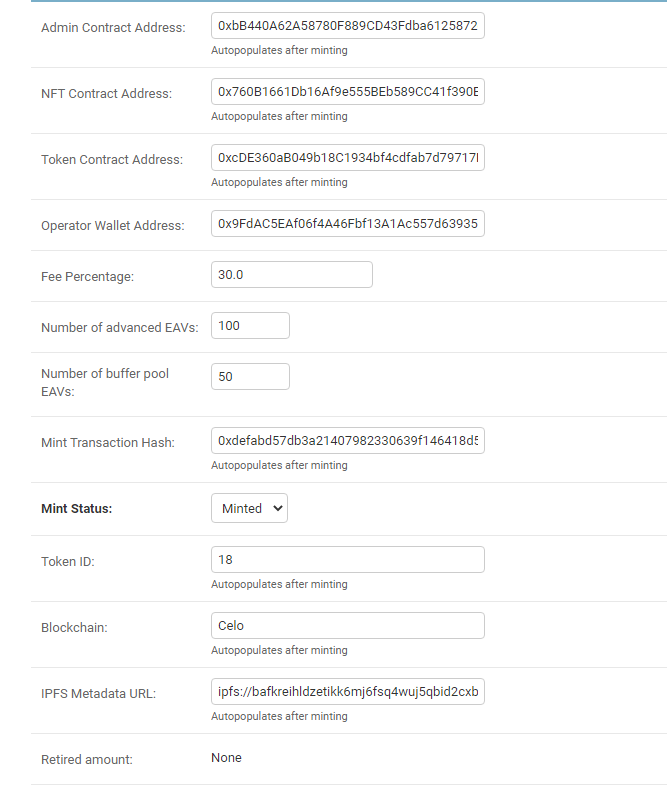
You can verify the minting process in the blockchain explorer.
https://explorer.celo.org/alfajores/tx/<Mint Transaction Hash>