Editing Well Timeline
Main Timeline Info
In the CarbonPath App, clicking on a Well Marker  will open up the Well View for that specific Well. The last tab
  contains the Well Timeline, a collection of Drone Imagery of the Well spanning multiple dates.
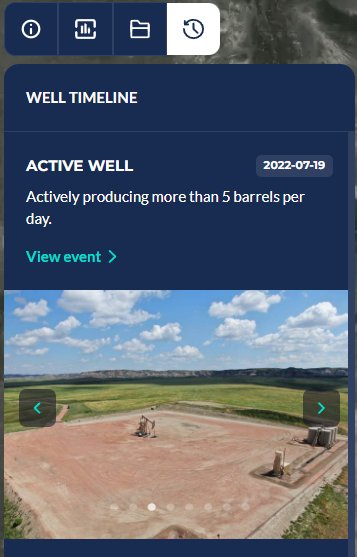
Below is a sample of an Well Timeline entry. Multiple entries can be made for each well, optimally on a unique date for every subsequent entry, so that a timeline is produced.
For now, adding and editing Timeline Info is done manually through Django Admin. The image below shows the Admin section of the same Timeline entry above.
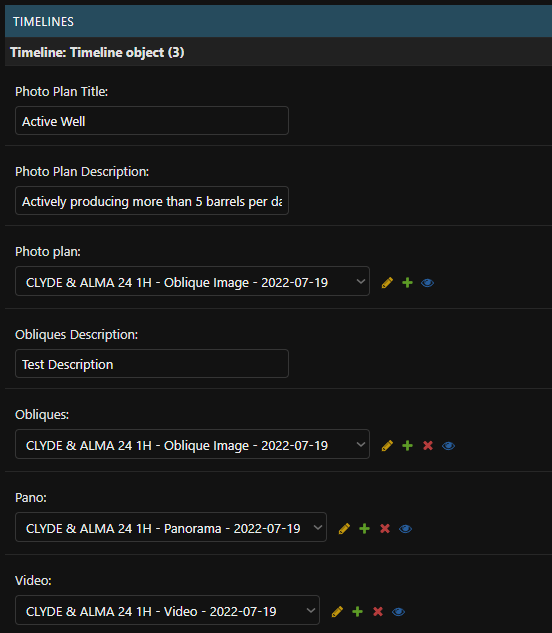
The info displayed in the Well Timeline entry only covers the PhotoPlan fields (Photo Plan Title, Photo Plan Description, Photo Plan). The rest of the fields are shown when the user clicks on the “Learn More” button, which will be discussed in detail below.
The displayed date of an entry comes from the PhotoPlan itself, which can be edited as well in Django Admin, but should be left untouched for most cases.
Obliques, Panoramics, and Videos
The Obliques, Panoramics, and Videos of a Well Timeline entry will be displayed once a user clicks on “Learn More”. Below is a sample of what it looks like in the App.
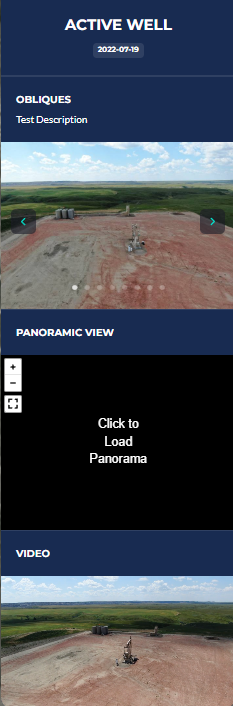
For the Django Admin fields, refer to the Django Admin image above. The Obliques Description is a text field, while the Obliques, Pano, and Video fields are dropdowns wherein a PhotoPlan, PanoPlan, and VideoPlan, respectively, can be selected.
To add a new Well Timeline entry, simply fill up the blank fields that Django Admin provides. As only one blank entry is provided as extra, more entries can be added at once by clicking on the “Add another Timeline” button.